Standard DryFireMag
- Product type
- Standard training magazine
- Laser feedback
- None
- Best for
- Repeated trigger practice without laser feedback
- Required separately
- Nothing for compatible models


Practice repeated trigger presses with your compatible 9mm Canik or add another magazine to an existing 9mm Smart DryFireMag Laser Training System.
| Caliber | Compatible Canik Models and Configurations |
|---|---|
| 9MM | TP9 Series, METE Series, Rival, Rival-S, TTI Combat, Prime, Prime-S and Radian-equipped configurations. |
| Not Compatible | |
| California-compliant Canik models. | |
| Compatibility Unknown | |
| One Series. | |
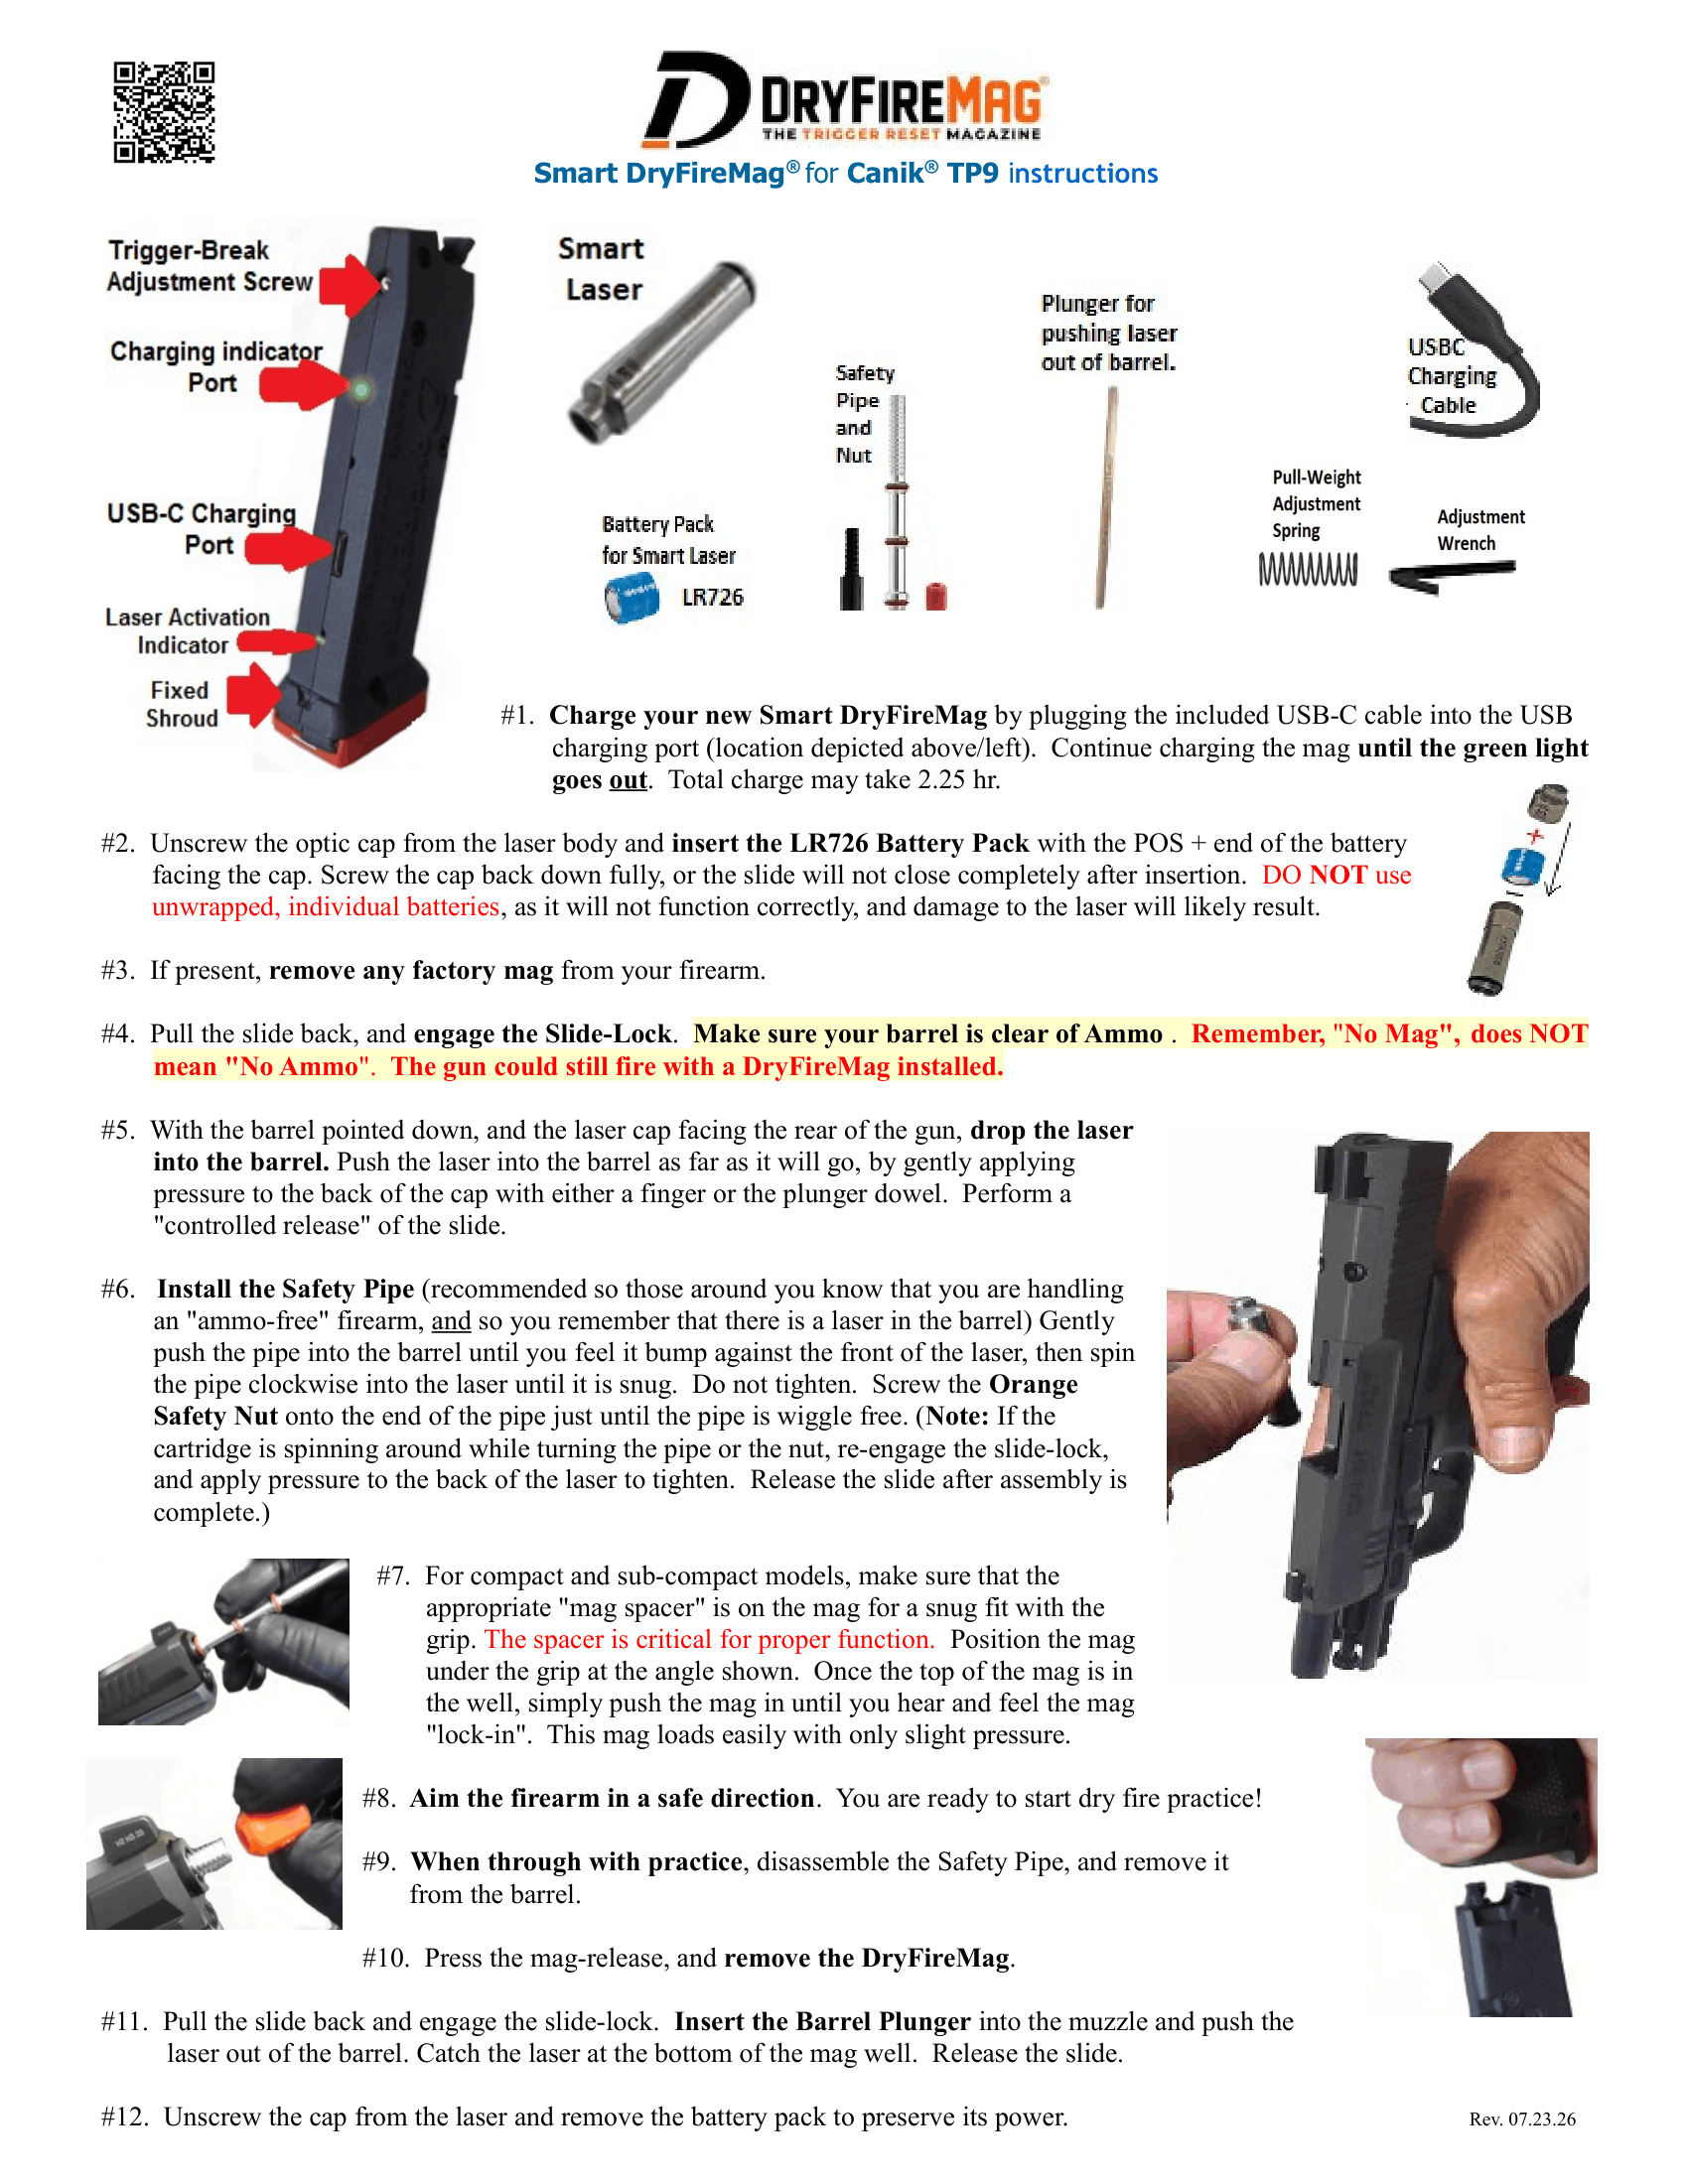
The Smart DryFireMag® for Canik Mag Only provides repeated trigger-reset simulation with your compatible 9mm Canik pistol—without manually cycling the slide between trigger presses. Use it independently for slide-free trigger practice or pair it with compatible components from an existing 9mm Smart DryFireMag Laser Training System.
When installed and adjusted according to the product instructions, the rechargeable Smart DryFireMag interacts with the pistol’s trigger mechanism to simulate repeated trigger presses without cycling the firearm’s action.
A laser cartridge is not required when using the magazine independently. In this configuration, the Smart DryFireMag provides audible and tactile trigger-reset simulation without laser shot feedback.
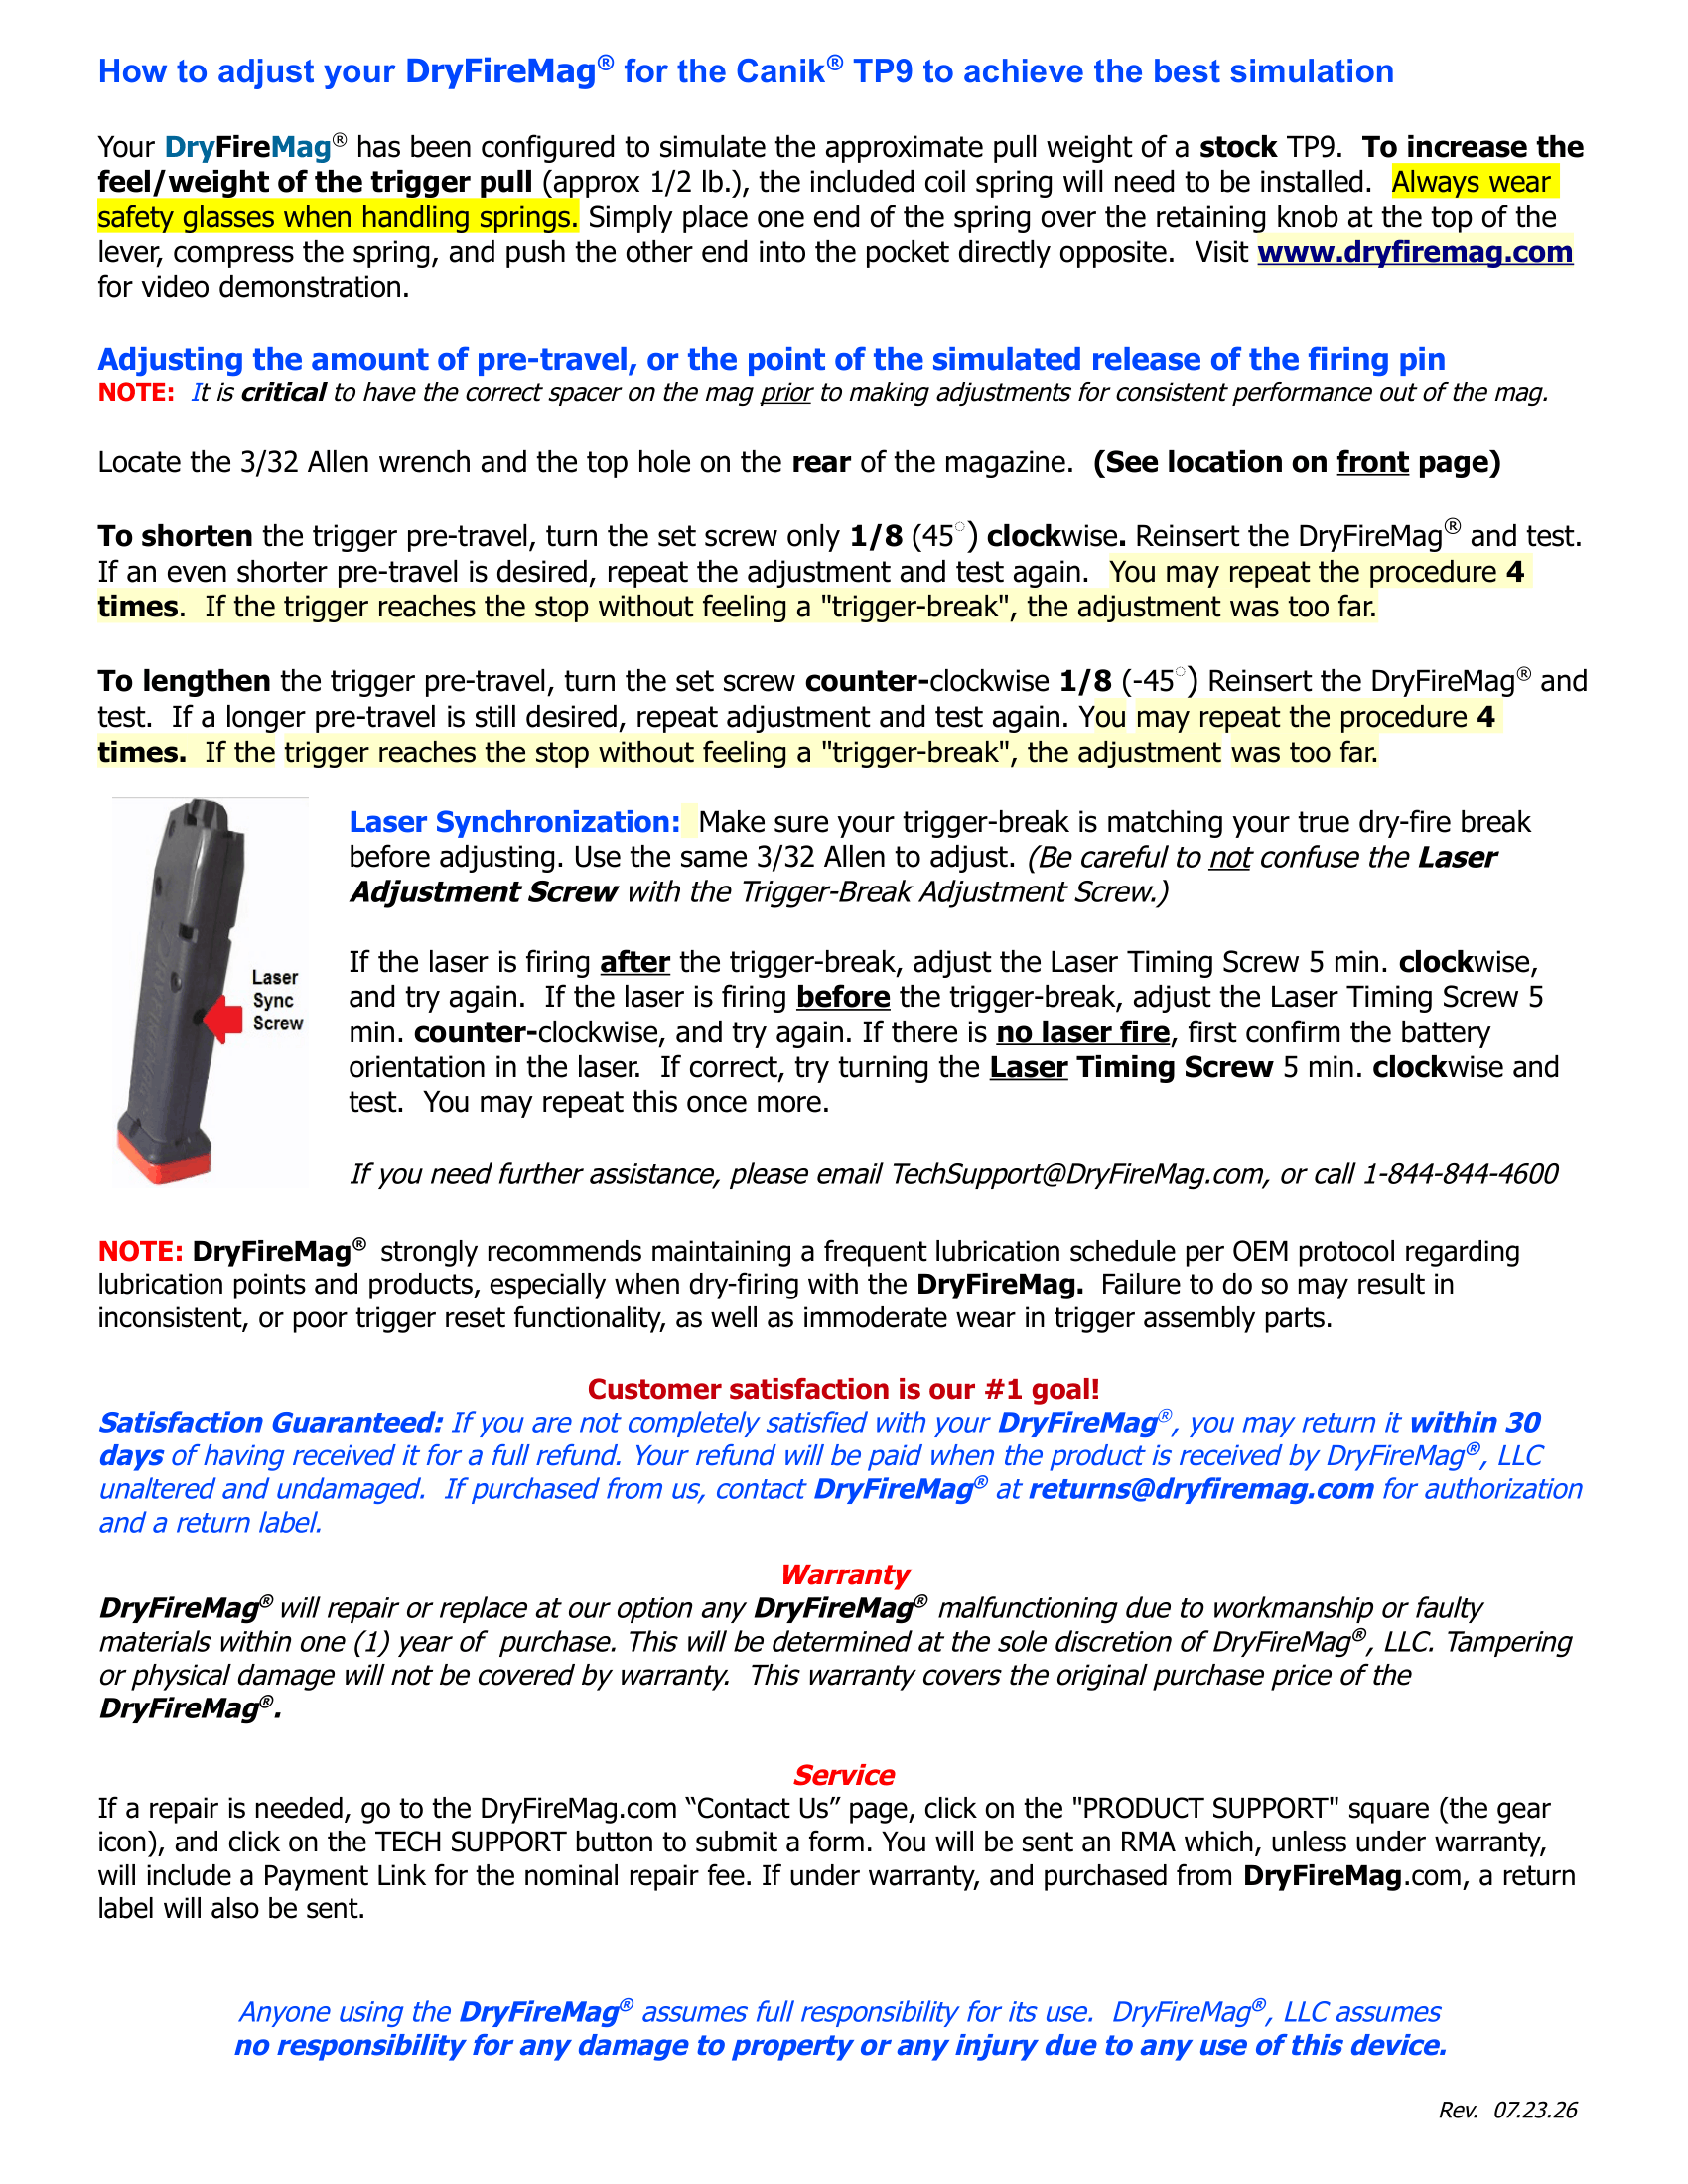
The Canik Smart Mag Only may also be paired with a compatible Smart SureStrike™ Red Visible or Infrared Invisible 9mm Laser Cartridge and safety-pipe components from an existing compatible 9mm Smart DryFireMag Laser Training System.
This makes the Mag Only product useful for customers who already own a complete compatible 9mm Smart system and want to add a Canik training magazine without purchasing another complete set of laser-system components.
The Smart DryFireMag is designed for use only with compatible proprietary Smart SureStrike laser-system components. It is not compatible with firing pin-activated or other third-party laser cartridges.
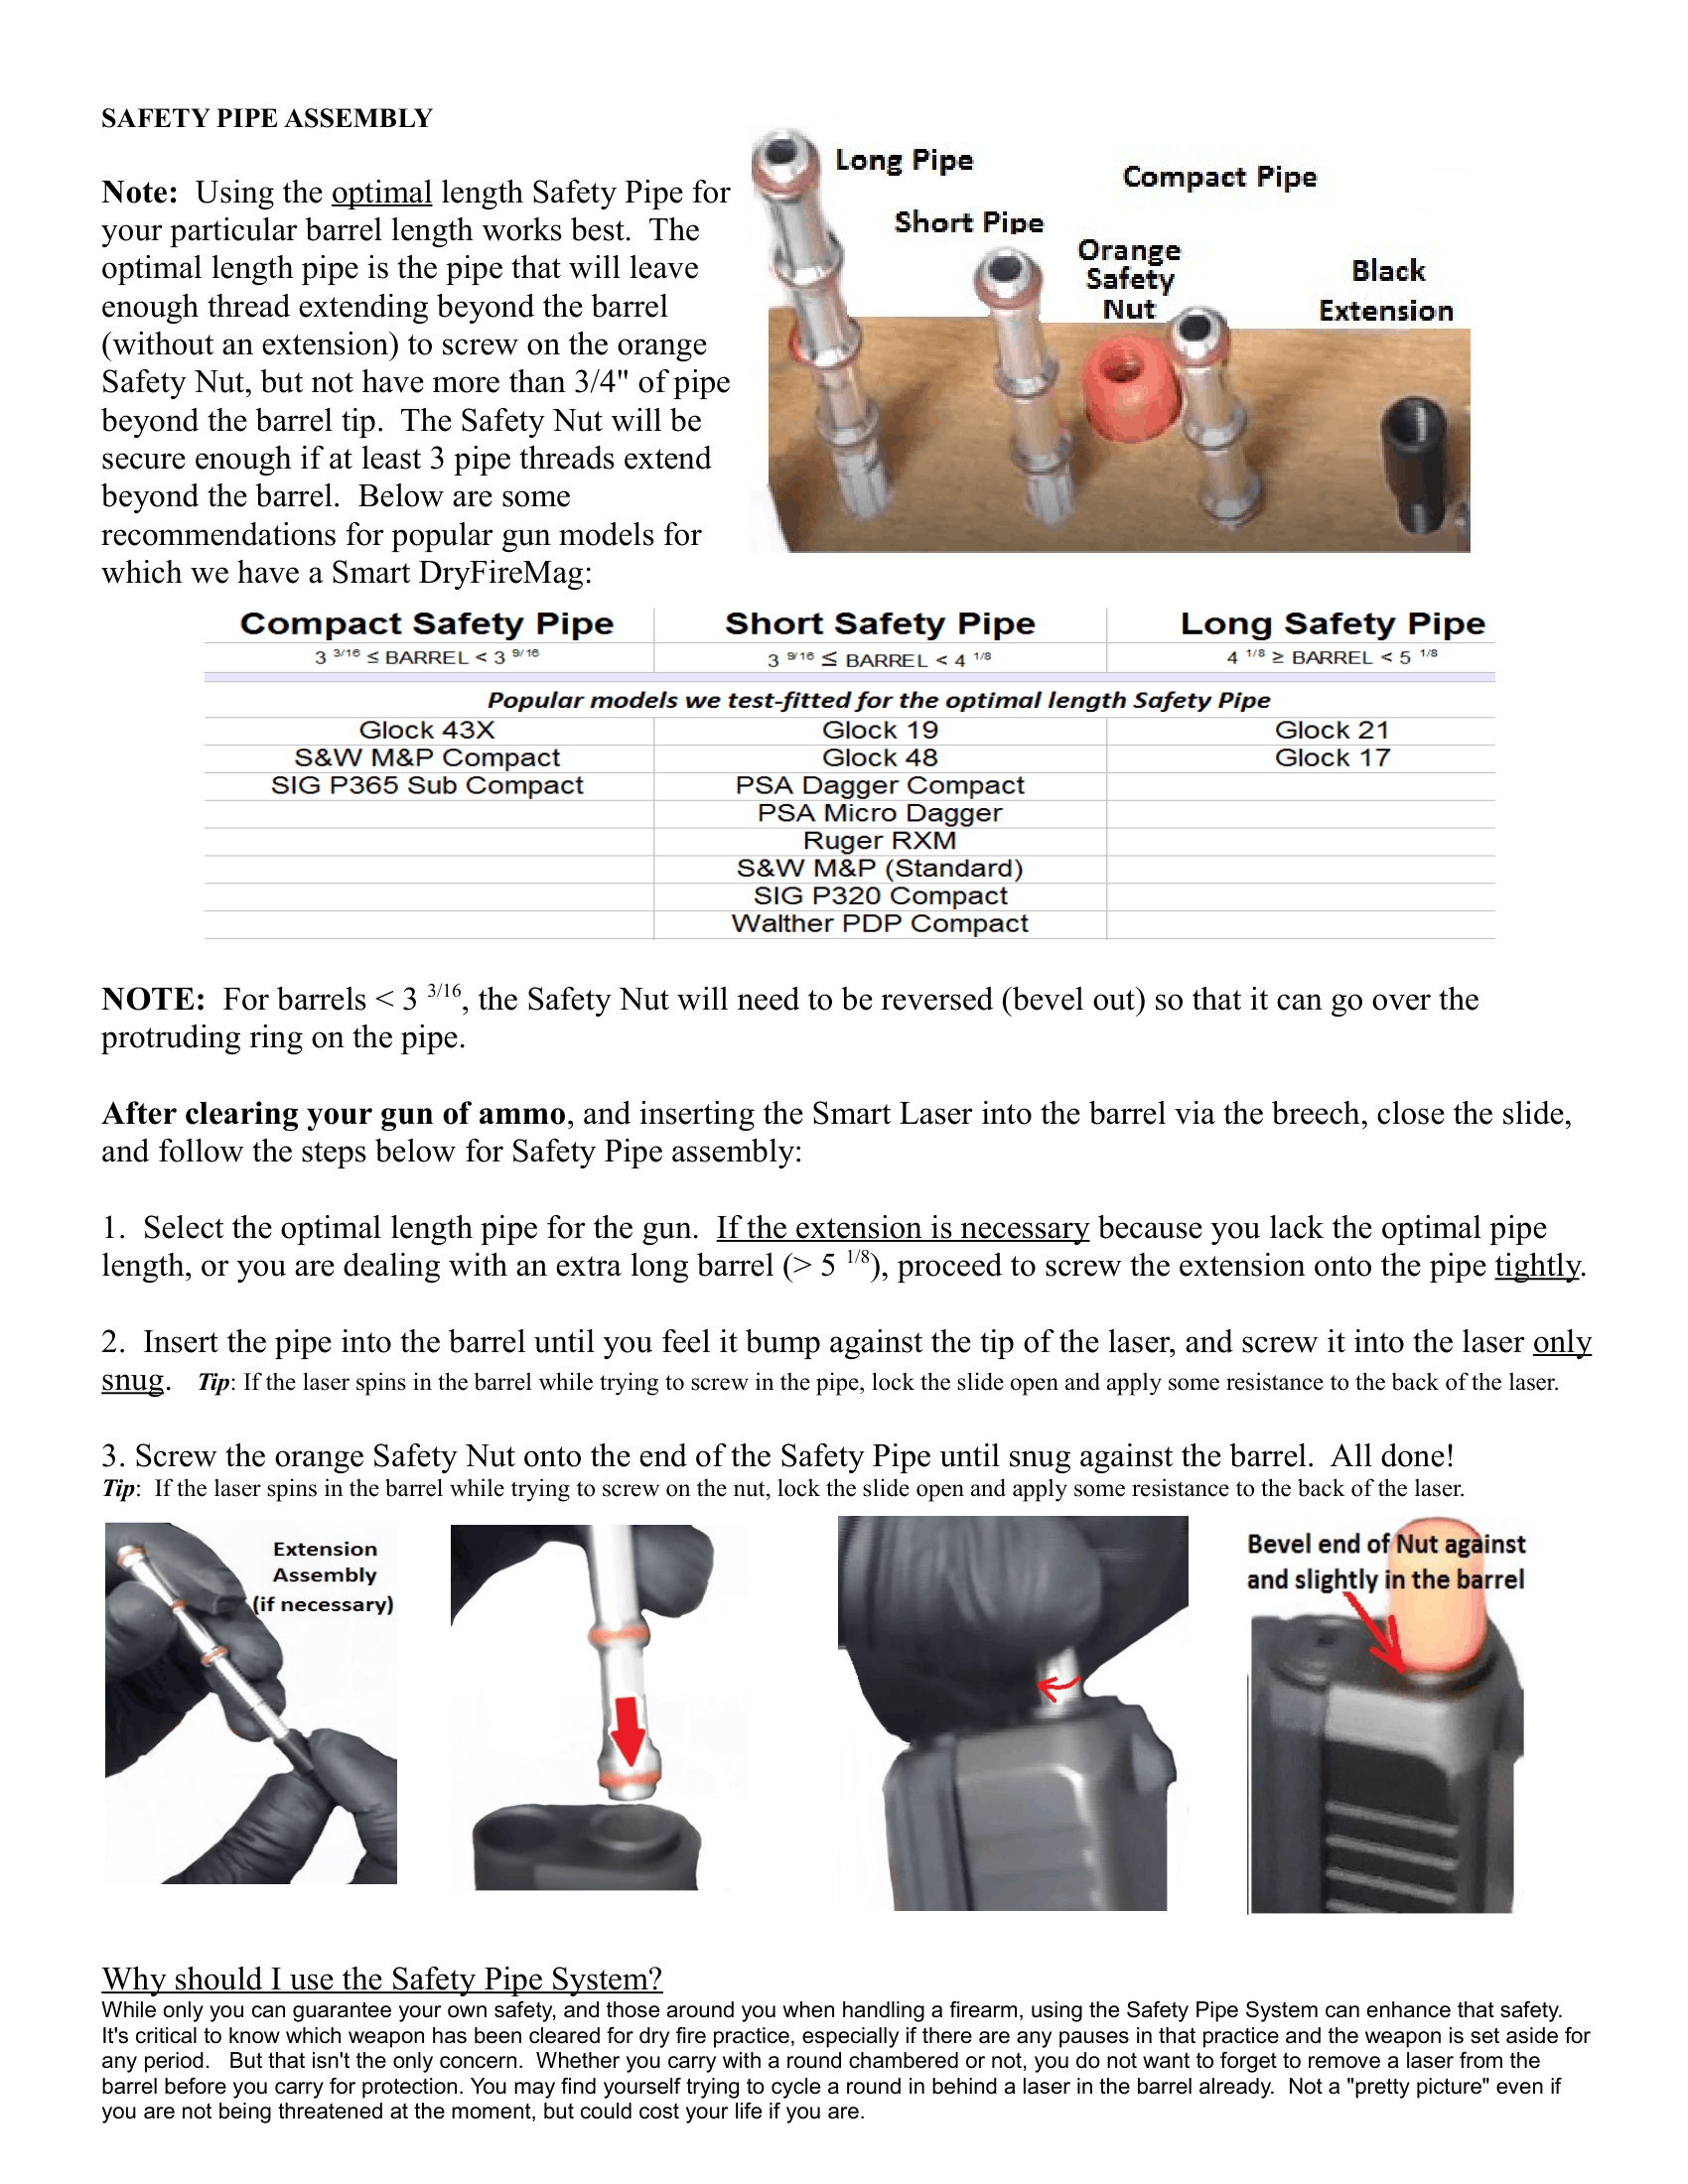
Two black magazine spacers are included:
The Smart DryFireMag contains a rechargeable power source and includes a USB-C charging cable. Allow approximately 2.25 hours for the magazine to charge fully.
The Smart DryFireMag ships with a pull weight that closely approximates the firearm’s actual trigger pull weight. Trigger configurations, installed components and individual firearms can vary, so the simulated trigger pull might not feel identical to the live-fire trigger pull of every pistol.
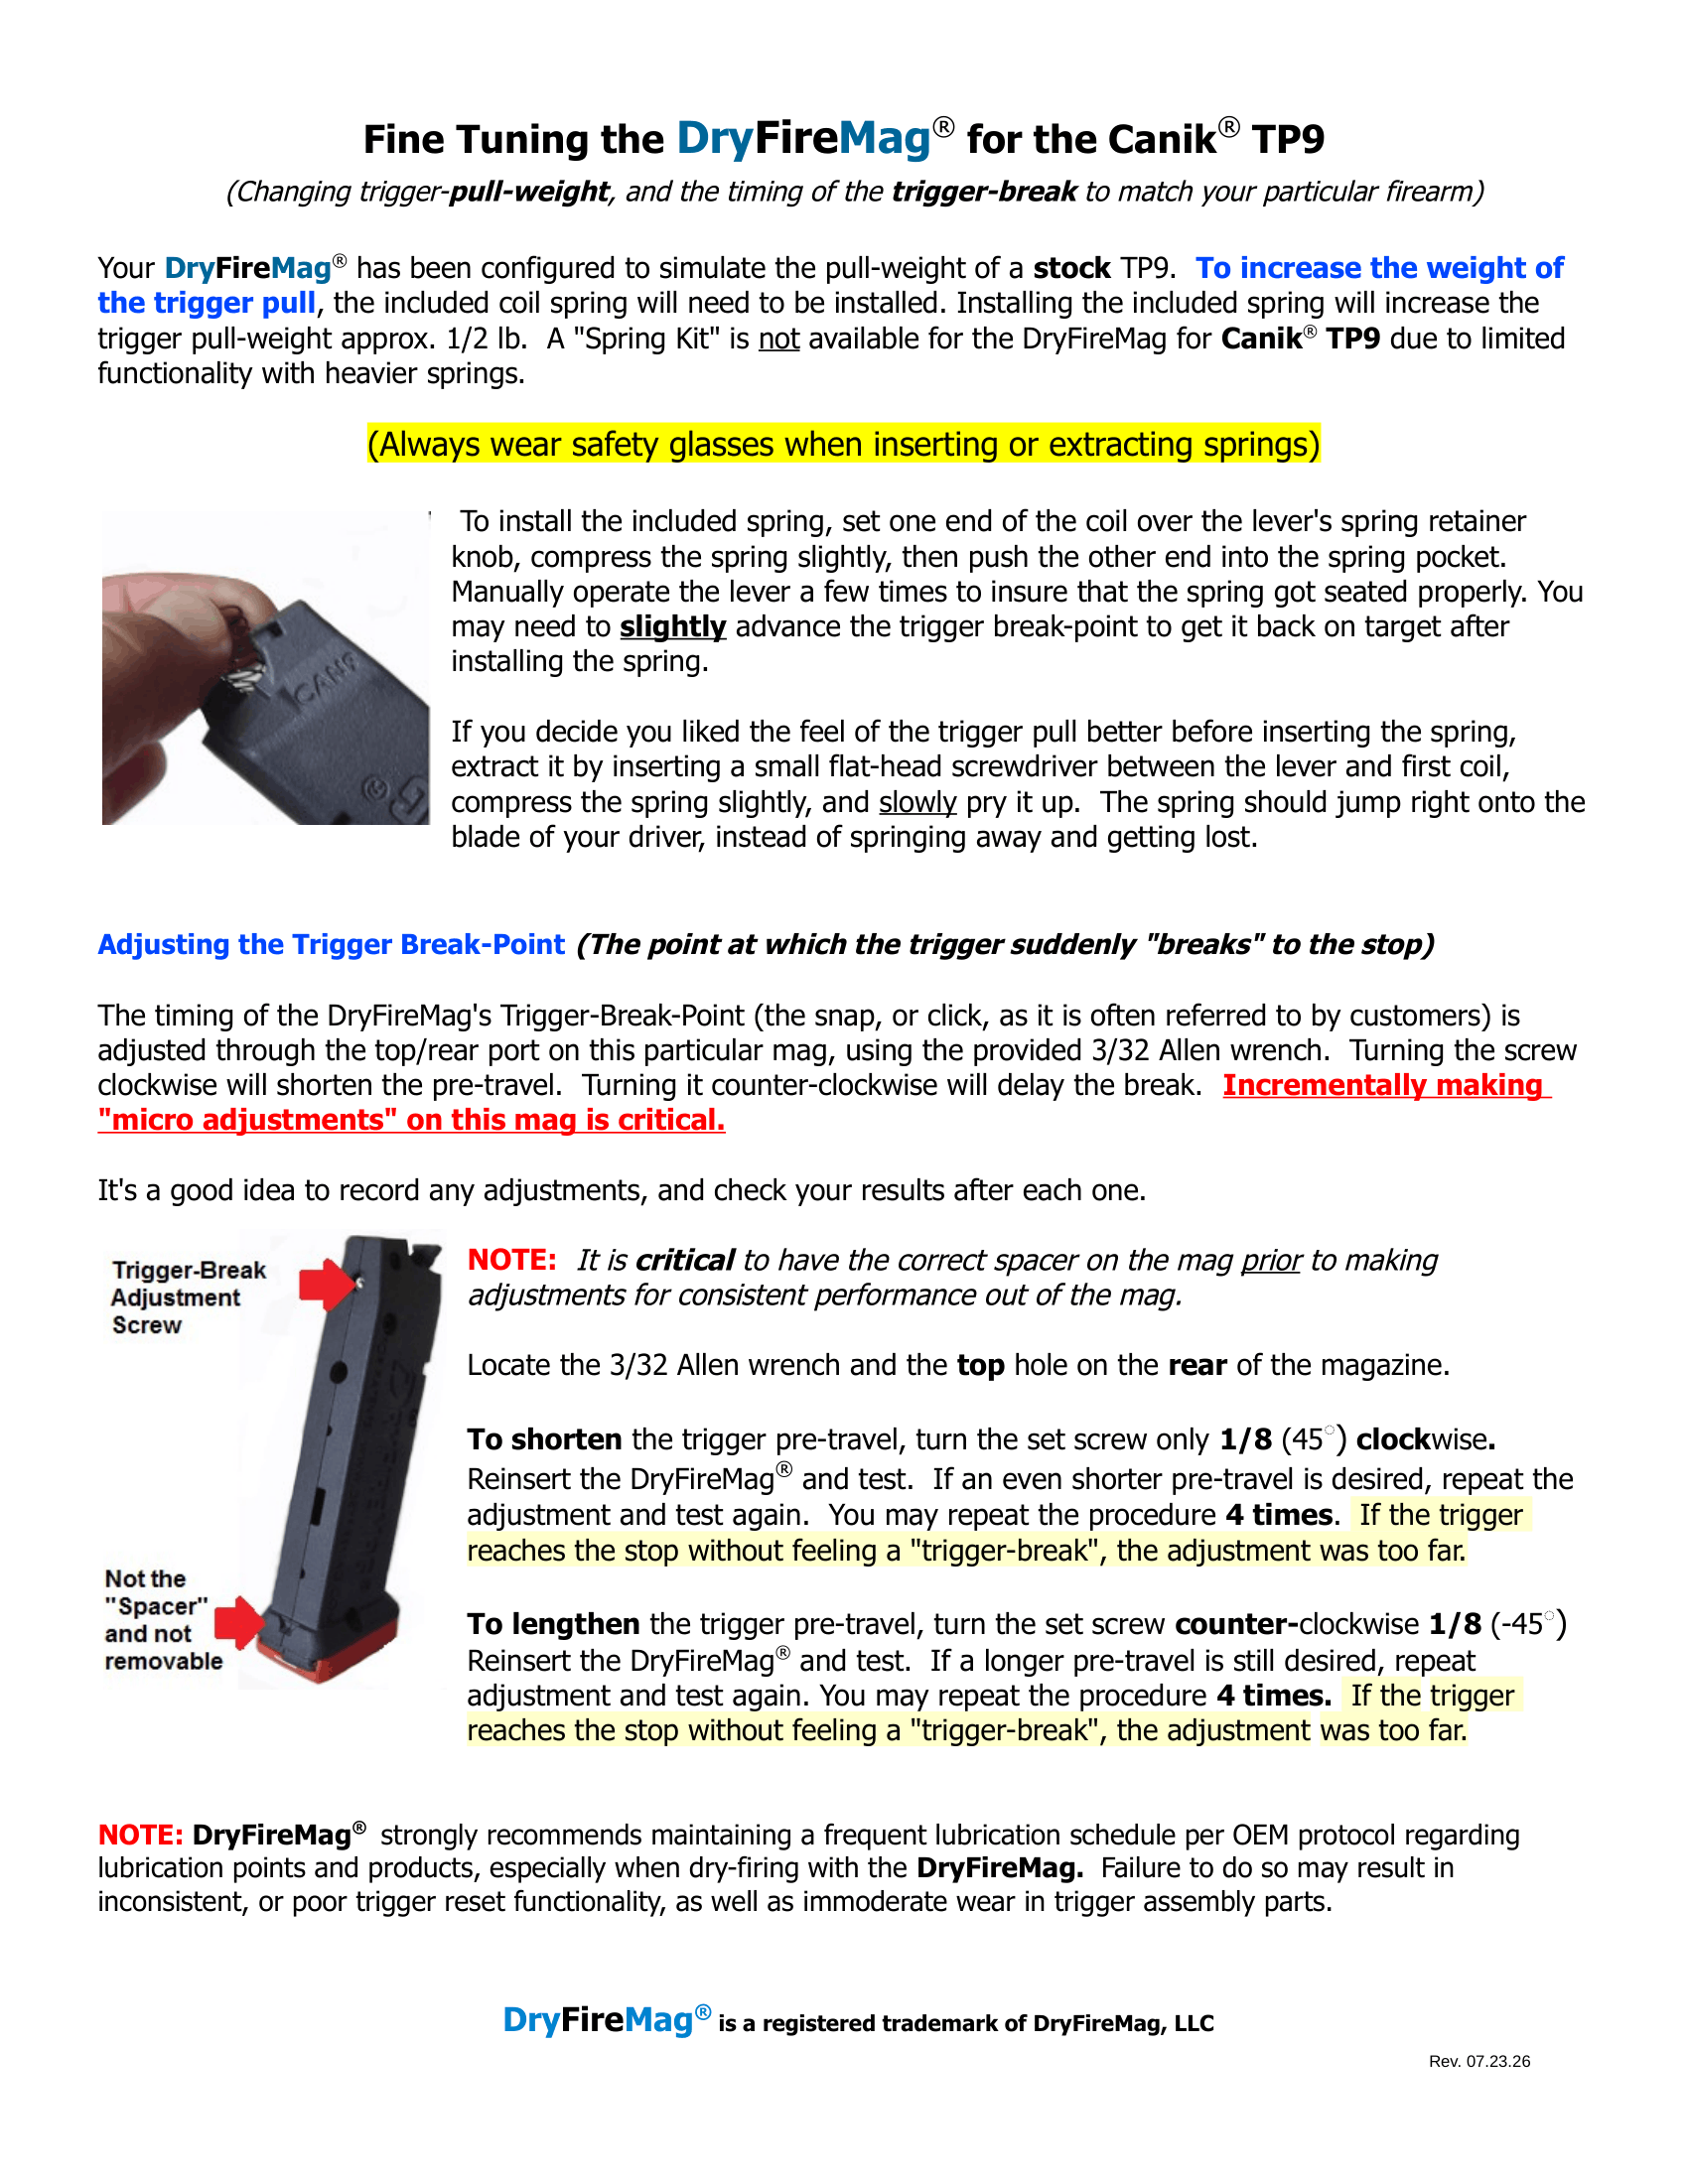
The orange baseplate helps distinguish the Smart DryFireMag from live-fire magazines during dry-fire practice. The included CAN C and CAN SC spacers are black. Always verify that your firearm is unloaded and follow the included instructions before beginning any dry-fire training session.
If you do not already own the compatible Smart SureStrike laser cartridge and safety-pipe components, choose a complete Smart DryFireMag Laser Training System.
SKU: S-CAN9
Made in the USA
For patent information, visit the DryFireMag Patents page.
We proudly ship to all 50 United States, Guam, Puerto Rico, the U.S. Virgin Islands, and Armed Forces addresses (APO/FPO/DPO).
Questions about your order status or shipment? Reach out to our team via our shipping page contact form or call 208-702-7030.
Our refund and return policy lasts 30 days. If 30 days have passed since your purchase, we can’t offer you a full refund or exchange.
To be eligible for a return, your item must be in like new condition and the same condition you received it. It must also be in the original packaging.
To complete your return, we require a receipt or proof of purchase.
There are certain situations where only partial refunds are granted:
When your returned item has been received and inspected, and your return is approved, your refund will be processed, and a credit will be applied to your credit card or original method of payment.
If you haven’t received a refund yet, first recheck your bank account.
Then contact your credit card company; it may take some time before your refund is officially posted.
Next, contact your bank. There is often some processing time before a refund is posted.
If you’ve done all of this and you still have not received your refund, please complete the form below or call 208-702-7030.
To return your product, please request a shipping label using our return form below or call us at 208-702-7030.
For general questions related to refunds and returns please contact us through the form on our Returns page or call us at 208-702-7030.
Every option provides repeated trigger-reset simulation without racking the slide. Compare the product type, feedback and additional equipment below.